Woodland Photography Composition - tips and tricks

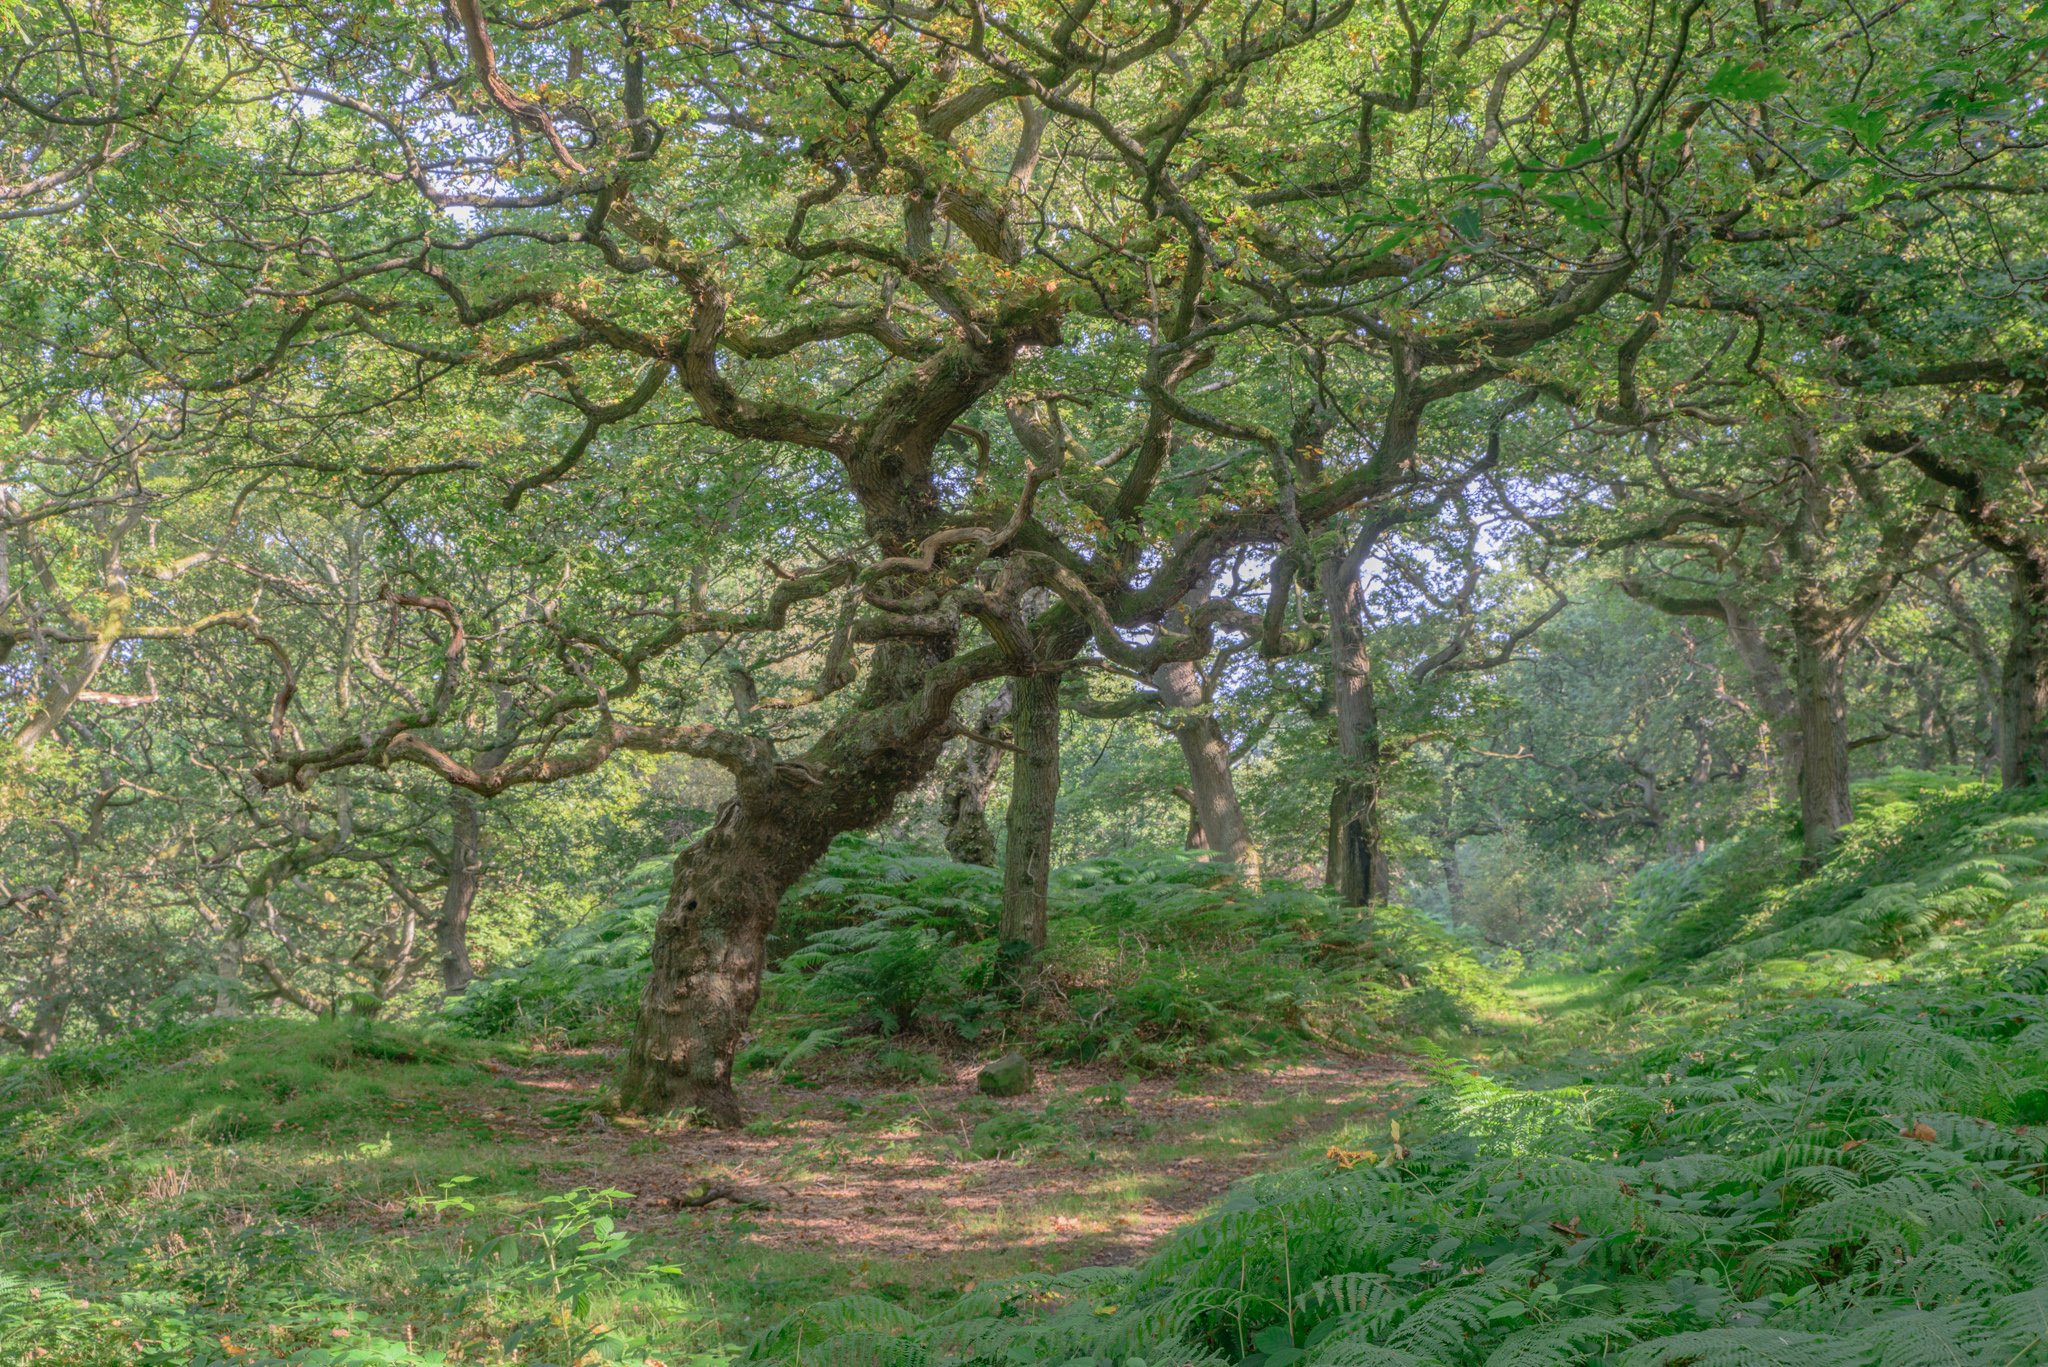
A gnarled English Oak tree in Brusselton woods, Shildon
Woodland Photography - Tips & Tricks
Woodland Photography Composition – Tips & Tricks
Have you ever tried your hand at woodland photography? Have you come away from that shoot, wanting to hit yourself over the head with a tree trunk because you’re just so frustrated at the results? I have, in fact I still do. I did on Monday (today is Wednesday). the keep reading for these Woodland Photography Composition – Tips & Tricks and with any luck by the end of this article, you’ll be primed for better results.
We all learn the “rules” of photographer when we start out, rules of thirds, golden ratios, reciprocal shutter speeds etc. But Woodland and forest photography is one of the most difficult and challenging genres of photography. But it can also be one of the most rewarding.
Getting beyond the hurdles of frustration of forest photography takes a lot of patience and lots of practice, there are no ways around that old adage, of practice makes perfect. The following is a non-definitive list of tips and tricks to help with your woodland photography, it’s the advice I’ve applied to my own work to take me to the next run of the ladder.
Woodland Photography Gear
It doesn’t matter if it’s a 100 Mega pixel medium format beast, or a simple point and shoot. The techniques for capturing enchanting images of woodland and forests are the same. I currently use the Nikon Nikon Z6ii mirorless and the Nikon D800 DSLR cameras.
A tripod
When under the canopy of a woodland area, it can be surprisingly dark. We often don’t notice this due to the way our eyes adapt so well to low light situations, but unfortunately the camera is nowhere near as advanced as the human eye. So a tripod is necessary to get good sharp images. My primary tripod is the K&F Concept TM2324 tripod.
Lenses
If you are using a DSLR or Mirrorless interchangeable lens camera. You may find it handy to carry one each of these.
Wide angle lens. Used to capture grand vistas, or just to include as much of a scene as you can. The wide angle look can be useful for showing the scale of an environment or the sheer size of a subject. My two preferred wide to standard lenses are the Nikon 12-24mm f/4 and the Tamron 24-70 SP VC USD f/2.8.
Telephoto lens. Often overlooked in landscape photography, the long lens can be useful for isolating intimate details of a landscape or scene. The main Telephoto zoom lens I use is the Tamron 70-200 SP VC USD f/2.8.
Macro lens or Extension tubes. Macro lenses are fantastic pieces of equipment to have in your photography bag. They can be used for extreme close ups and really getting into the intricacies of an environment. Extension tubes offer a similar functionality to a non-macro lens, allowing for much greater magnification and closer focussing. The macro lens I use is the Micro Nikkor 40mm f/2.8 that is designed specifically for DX sensor cameras.
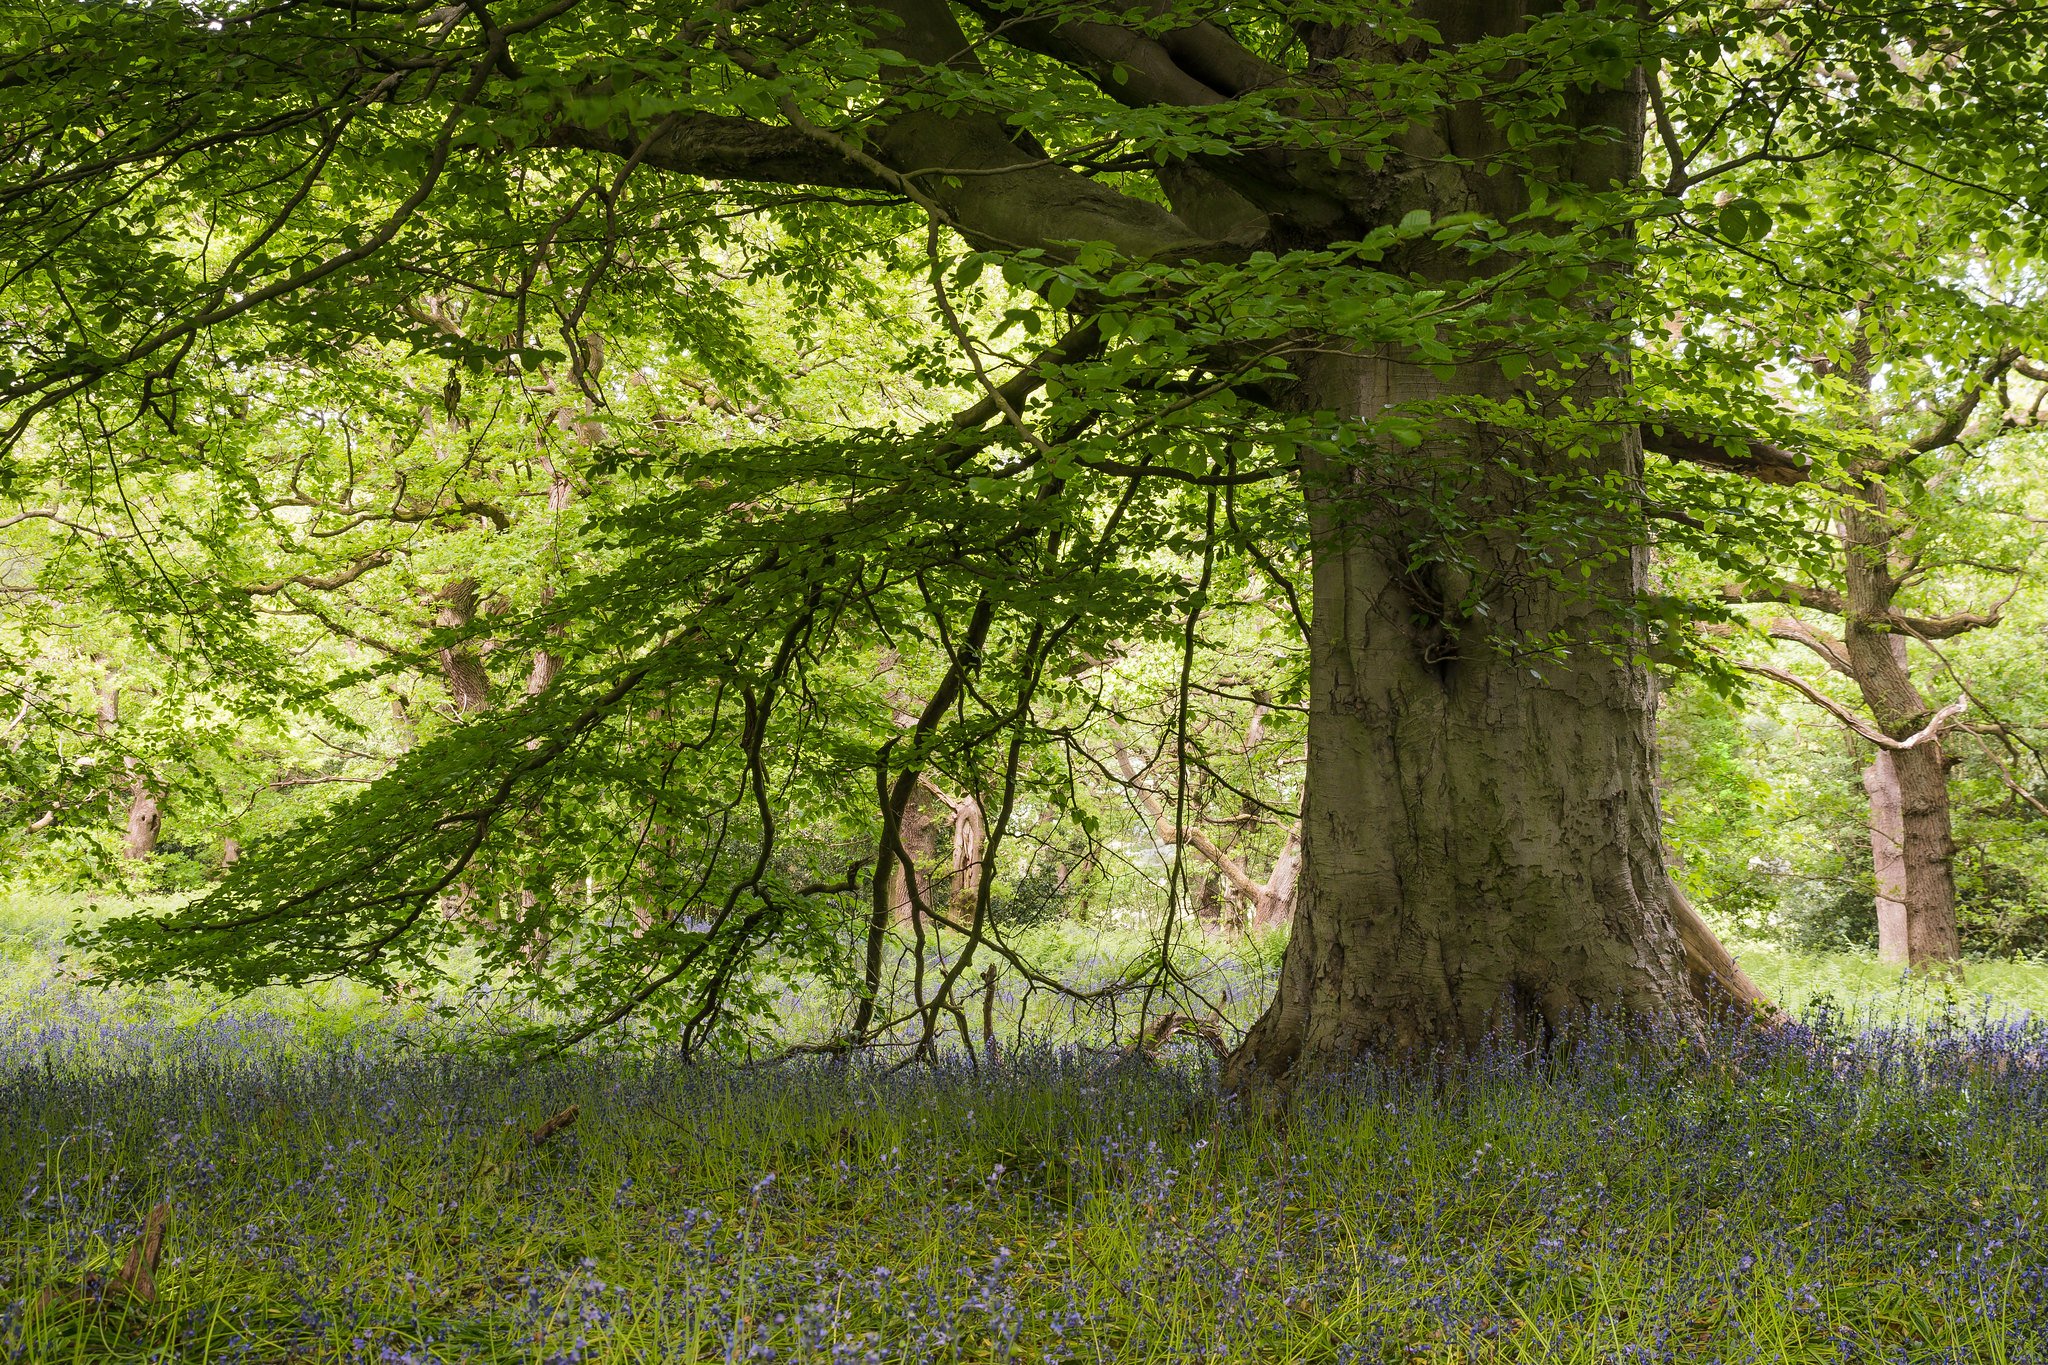
A large Beech tree surrounded by spring bluebells
Polarising Filter
While not an essential item, polarisers are handy to reduce glare and reflections from surfaces, the effect of a polariser is still not one that can be replicated in post processing. Which is why I believe it is the only filter a photographer actually requires.
Bear in mind, you can still capture fantastic images of woodland and trees, with only the simplest of equipment. You will also save yourself future pain by not having to carry 25kg worth of photography equipment through dense forest terrain.
Once you have the required equipment you need, it Is time to head out and find some forest compositions, and this for many can be the hardest part. To find my own compositions, I use a series of online tools to first virtually scout a location, to see if there is potential in that area.
First of all I use google maps to find any wooded areas that I have yet to explore myself, along-side this I have the Flickr world map open. Then I search that location for photographs that are tagged with the location. This gives me a good idea of what the inside of the forest may be like and what I could expect to see once there. For instance, is this an oak forest or a pine forest? Is it a plantation or a natural wooded area? Are there any water features (I love a water feature!). I also check out the area on the Woodland Trust archive of ancient trees. This database shows a list of notable, veteran and ancient trees throughout the UK, and I will make a note of any that I fell may make good woodland subjects.
Check The Weather
The weather and lighting conditions play a huge part of woodland photography, even though you’re beneath the tree canopy, the conditions. Again I use a number of online service and apps to determine the best time of day and weather combination before I venture to the location. Be mindful that the weather forecasts can be somewhat unreliable at times, but for the most part you can ascertain the conditions by using multiple apps.
The weather apps I use are
Clear Outside by first light optics – this app gives an idea of cloud coverage, potential of precipitation and fog.
The Met office weather app & website – This gives me probably the best indication of the conditions that I can expect on the day of shooting.

Fog + Light + Composition = Woodland Mastery
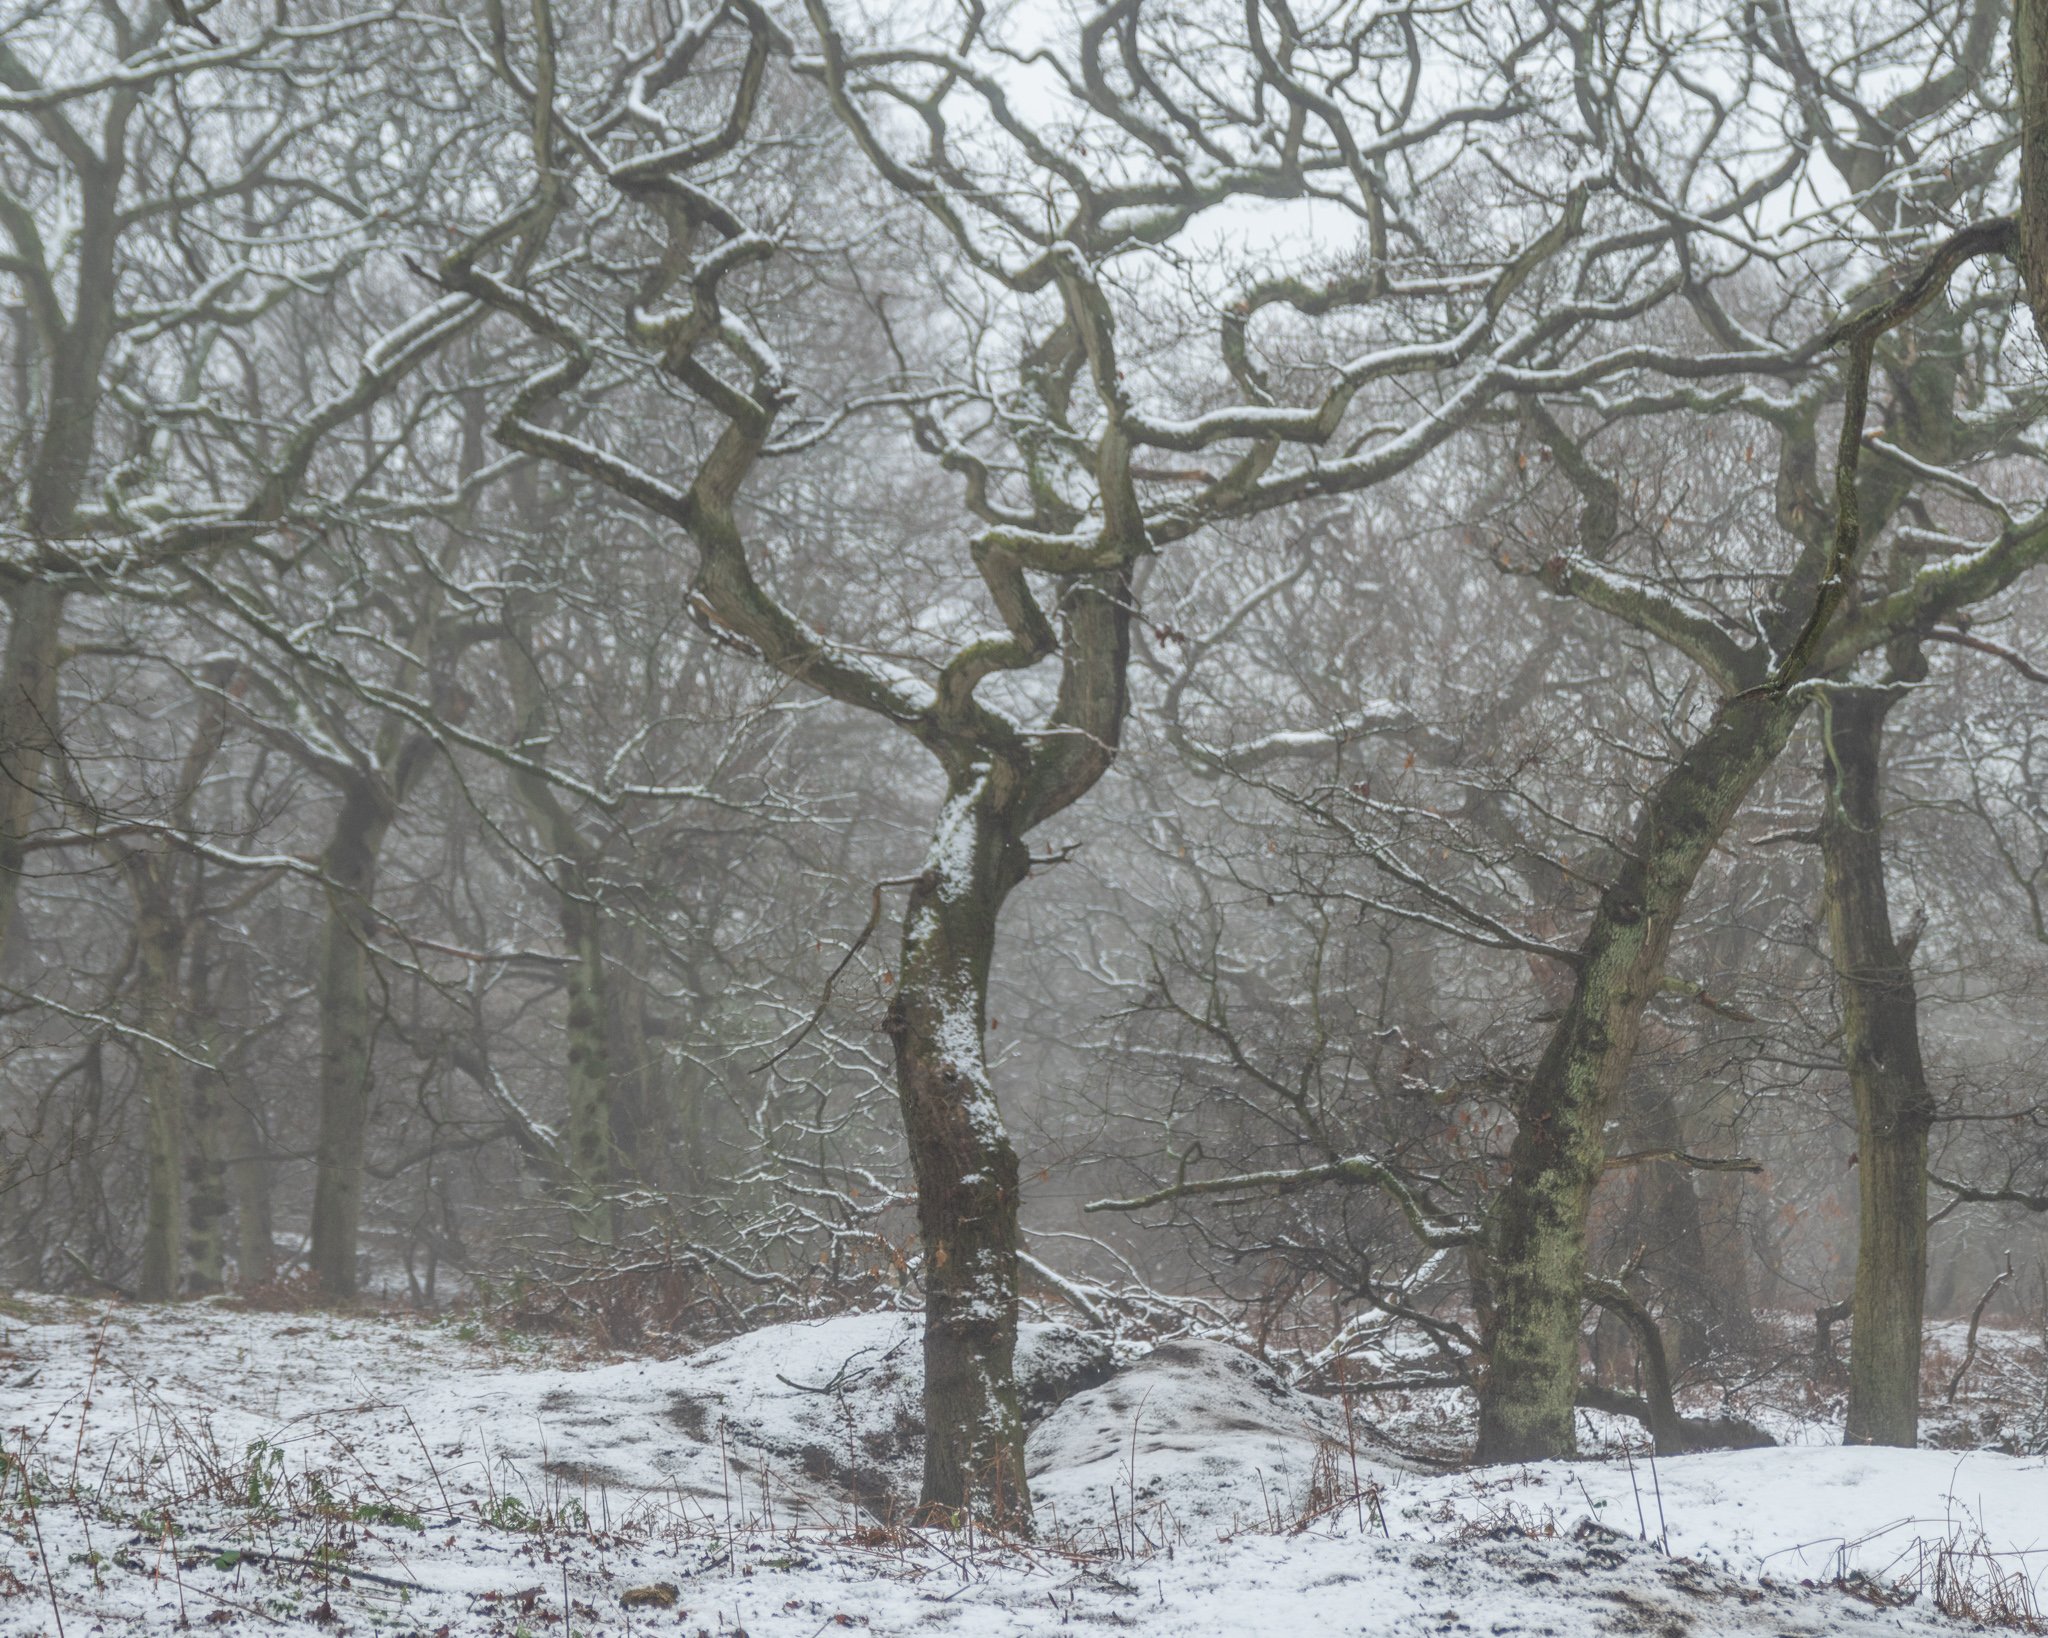
FOG
Now, in a perfect world, for every single woodland shoot I do, there would be fog. There is something about woodland photography and fog that just marry together in a perfect photographic harmony! Like strawberries and cream, or Batman and Robin. Woodland and fog are the dynamic duo of photography. Fog and mist helps to obscure parts of the forest, it aids in hiding cluttered floors and messy backgrounds. But it also gives the area a mystical quality like one has been pulled into a Hans Christian Anderson book.
Light & Shadow
As anyone who is interested in photography will know, and undoubtedly will tell you. The best times of day to shoot are the very start, and the very end of the day. This is because when the sun is down at these lower angles, it offers a beautifully golden coloured light, but also acts to give elongated shadows, especially in the woods. To take advantage of these shadows, look for compositions that are being backlit by the rising or setting sun. In this instance. This is where your tripod pays for itself, use it as a stable base to bracket your shots and blend them together later. Some cameras can blend images together in body, but you will want as much control over the final image as possible, so it is better to do this in post-processing. Take care with lens flaring when shooting into the sun, and always be sure to protect your own vision.
Cityscape Photography around Durham
Trees in the St johns churchyard shrouded in fog
Woodland Photography Composition Basics
Order from Disorder
Forests and Woods are naturally chaotic environments. It takes decades for fallen trees to decompose into the soil, even fallen branches and leaves can rest on the floor for several years. This all serves to give a cluttered feeling to many woodland images, and is one thing that I think puts many people off (including myself). The key is to simplify your images. Either pray for fog, or adjust your composition to include less of the clutter. The key is to move around, and change angles to hide and obscure those distracting elements. This is something that will only come from practice. Practice, practice and yet more practice.
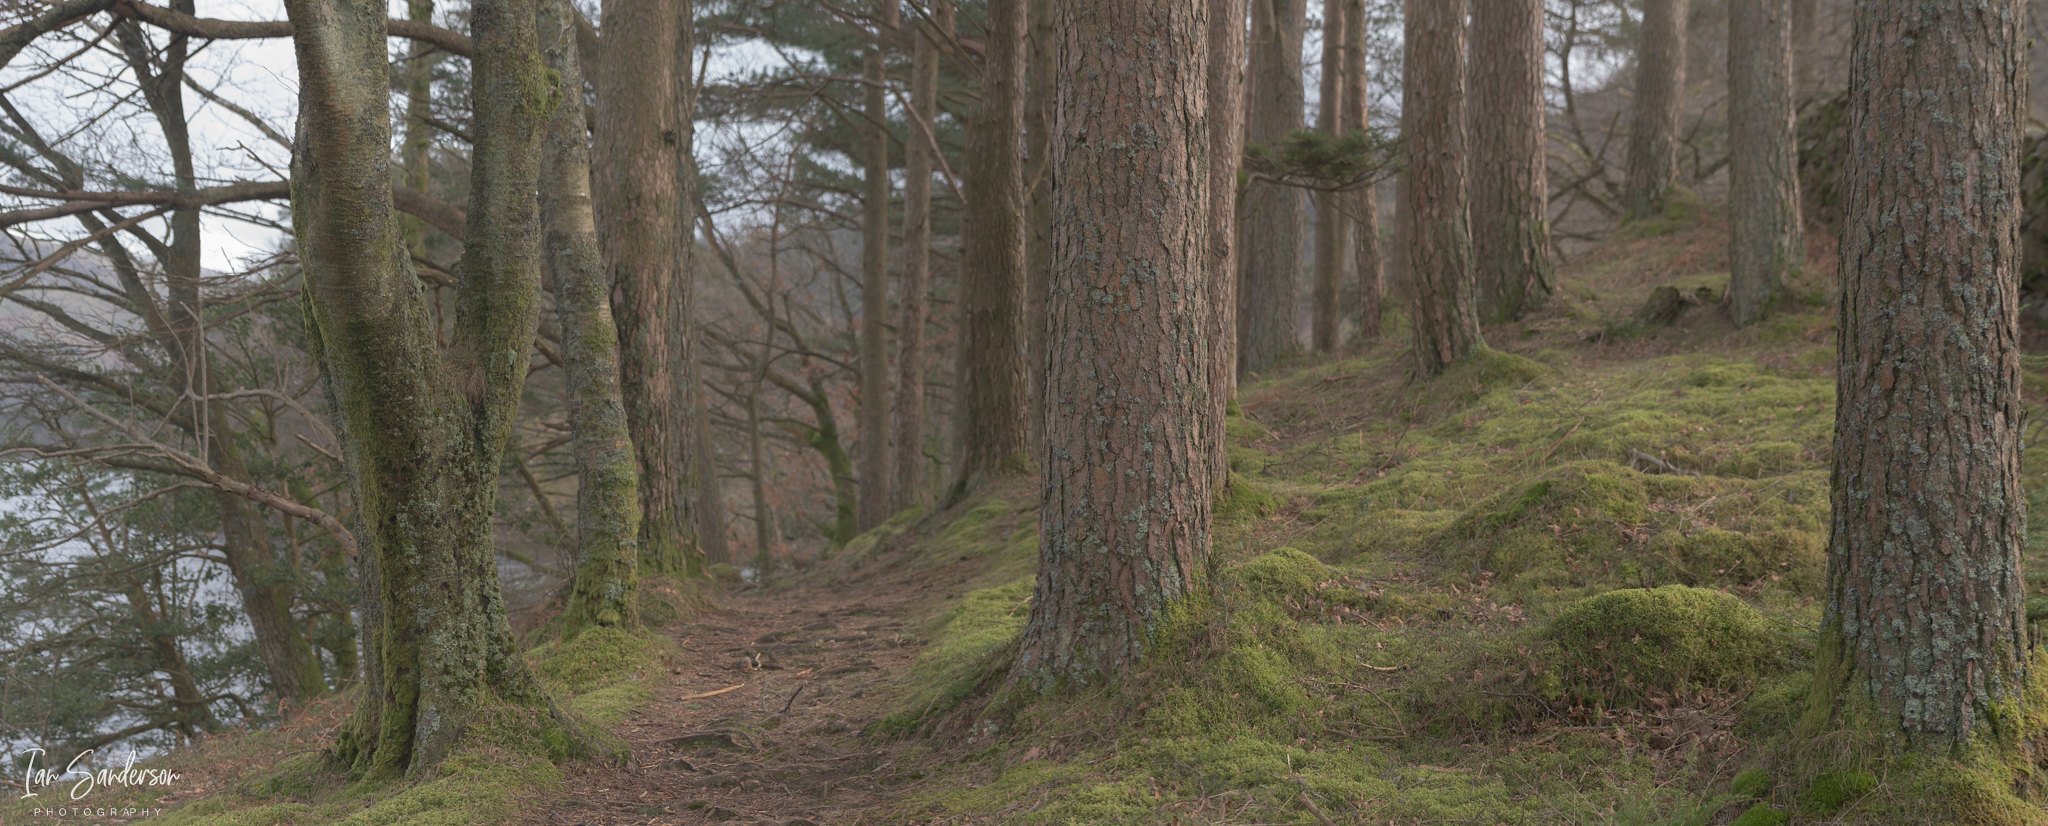
Leading Lines
Even though the forests are disordered and hectic, it can be easy to find leading lines. These can be rows of wildflowers, fallen trees or even paths carved out by people and animals. You can use these lines to guide the viewer through the frame and tell the story you want to tell.
Woodland photography Composition - Tell A Story
For me, photography is all about telling a story. Whether that’s the story of someone’s wedding day, the story of your family holiday or even a music festival. The story can help the viewer feel like they were there. It’s one of the best feelings when someone sees your image and say to you “wow, it’s like I’m there”.
One of the best story telling methods is to enhance the sense of depth of a scene. This is true for most forms of photography, but especially so with woodland photography. Find a strong subject for the focal point of the image and use the foreground and background elements to focus the viewer to that subject. Without that strong subject the viewer’s eye will wander and the story is lost.
The gear we mentioned earlier comes into play now, we can use the telephoto lens to isolate a prominent subject in the frame, we can use our wide angle lens to place emphasis on a large prominent subject, or we can use our macro lens to hone in on the intimate detail of or scene

Stop Looking For Trees
OK, I know how that sounds. You probably found this blog because you were looking "Woodland photography composition tips and tricks". But that’s the best advice I’ve been given. In a YouTube video posted in 2019 by Simon Baxter. Instead, ask why that particular tree caught your attention. It’s not about capturing the tree in its entirety, but rather the colours of the scene overall, the contrast between the leaves and the trunks and the shape of the trunks and the branches. More often than not, and from past experience I know first-hand that when I set out to photograph a tree, a single tree in its entirety, I would more often than not fail, and I would come away from that shoot feeling downed and dejected.
I really hope you have come away with a few titbits of information that you can apply to your own woodland photography. If this blog has helped, let me know in the comments section, or connect with me on Social media, I’d love to see how you put this into practise.
Woodland photography Gallery